How to build your own bar, part 4
Is this thing actually going to take shape, or am I just wasting my time?
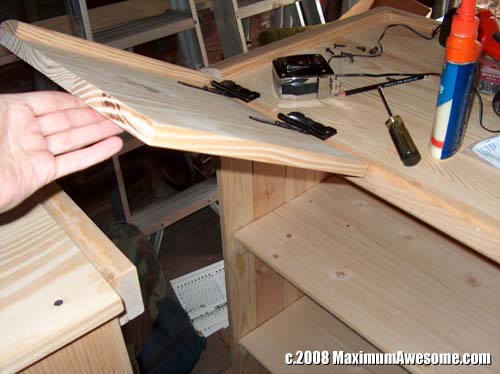
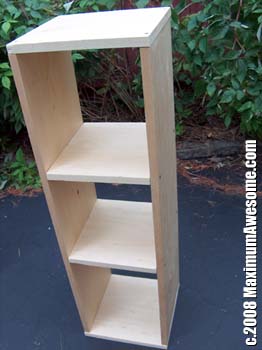
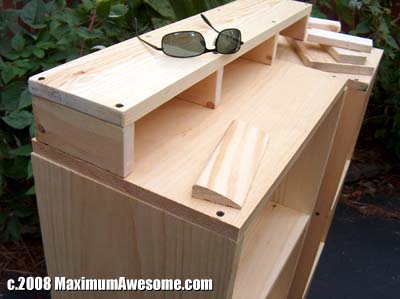
by Dave McAwesomeAssembling the pieces I cut the other night with Chip Hardwood was easier than I thought. My 4th grade wood shop skills had thankfully not dulled with time. Basically, I had to make two big boxes to extend the main bar. The Laverne and Shirley flip top doors would be attached to the main bar and rest on a lip on the boxes. The key is measuring the height just right.


Sometimes, no matter how much you plan, you're still amazed when it turns out. The height was spot on. The boxes were sturdier than I thought (due to cost, I didn't cut a back piece. So picture a small set of shelves with no back. Usually that's wobbly. I had some metal bars I could use as an cross beam in the back (like an x), but it didn't need it. The shelves alone kept it stable.) It went so smoothly that I thought, "crapola, I shouldn't have bought that shelving system for the backbar...I could've built it." See, the shelving system I bought was pine, so I figured, "great, it'll match. I'll sand off their assified finish and finish it the same color as the bar." I realized too late what a pain in the ass sanding it down would be. It was also not long enough. I needed to build a second half of the backbar.

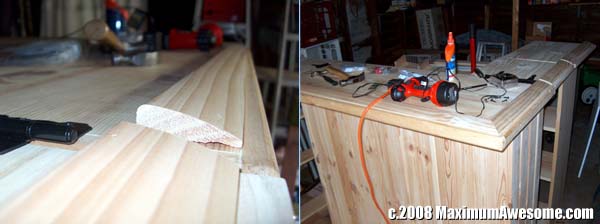
I borrowed Chip's truck and went back to Home Depot. Not only did I need to get...oh, crap, how does this alarm turn off? Is it this button? Anyway, not only did I need...damn it, the alarm again. The sound is searing my brain! Damn you, Chip! Okay, so the alarm is off and now I can go back into the past tense...which...I dunno, but I felt like switching tenses there. So not only did I need to get more wood, but I started thinking about the bar molding. Bar molding is that lip that you rest your elbows on at the edge of the bar. It's a specialty piece so it's very expensive and must be bought through one of a handful of suppliers. Pine molding, which is cheaper than many other woods, would run me about $200 (including the cost of a corner piece). You could cut a nice molding if you had a router and a few hundred dollars of distinctive bits, but routerless me was stuck. At Home Depot, I had a change of heart and went with a cheaper version. Instead of $200, I spent 20 bucks on some simple pine molding that I mitered in the store (in addition to being routerless, I am also miterless). I also picked up a 12 foot slab of pine because it was on sale and about the same price as the 6 foot piece.

I don't recall how I got this huge piece of wood (more than double my size) into the truck, but I do remember the aforementioned car alarm played a significant role. I'm also unclear how I drove back to Chip's place...12 feet of wood hanging off the side...without it breaking. What I DO remember is that after I cut these pieces, I went back to my bar-in-progress and noticed the lip (to hold the flip doors) on one of the boxes wasn't exactly level. I unscrewed it. Rescrewed it. Still not level. Now, I don't have a carpenter's plane (so I'm routerless, miterless and planeless...you know what? Someone needs to hook me up for Xmas.), so I went back to the hardware store. After I saw the price, I left the hardware store without a carpenter's plane. I went back to my 4th grade roots. Flat file. Tattered sandpaper. This time, since my overprotective-of-his-rasp shop teacher wasn't there, I would finally employ the Mighty Rasp!
That actually went pretty well. Took maybe 30 or 40 minutes of elbow grease. Sanded smooth. Solid.
Coming up...Part 5: The transformative power of carpentry.
Read the whole story from the beginning.


